How to add NoAI notation/watermark | What you can and cannot do before publishing your illustration
The NoAI notation and NoAI watermark are one way for the rights holder of a work to indicate that they do not want this image to be used for AI learning. When posting illustrations on social media, portfolios, or sales pages, it will be easier to convey the source of the work if you include not only the text NoAI, but also the author's name, social media ID, and image size for publication.
However, NoAI notation and watermarks do not technically completely stop images from being saved, reproduced, or learned by AI. It is important to use it as an aid to decide the scope of disclosure and not to expect too much of an effect.
Where to put NoAI notation
NoAI is easy to use because it can be inserted briefly in a place that does not interfere with the content of the work.
- Margins and edges of images
- Near author name/social media ID
- Bottom of sample image
- Add a thin tile watermark to the entire work
- Sales page description and profile
If you overlap it too much towards the center of the work, it will be difficult to convey the image you want to show. Especially for images for social media, make sure they are large enough to be read even when zoomed out.
How to use NoAI watermark and author name
The NoAI watermark indicates the intention to use it, and the author name and social media ID indicate the source. Since their roles are slightly different, it will be easier to organize them if you include them both briefly.
- Author name/social media ID: Tell who the work is.
- NoAI notation: Indicates that you do not want AI learning
- SAMPLE: Indicates that it is a sample for publication.
- URL/Shop Name: Tell the place of purchase and publisher
If the watermark is too dark, it will make it difficult to see the work, so if you want to add it to the entire work, adjust the opacity to the extent that it does not become unreadable.
Process of adding NoAI notation and watermark with MistSeal
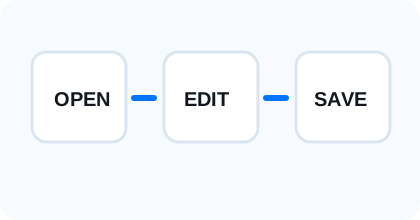
1. Open the work image to be used for publication
2. Add `NoAI`, author name, social media ID, etc. in the text layer
3. Choose a position that suits your purpose, such as image edges, margins, tile watermarks, etc.
4. Adjust opacity and font size
5. Cover unpublished parts if necessary and export in publishing size
6. Before posting, make sure you haven't read too much of the work and that you know the source.
Pre-publication check without relying only on NoAI notation
- Store original data separately
- Make a reduced copy for publication
- Covers undisclosed differences, punch lines, and sales parts
- Leave the author name, social media ID, and shop name in a recognizable format
- Include terms of use in the post text and sales page
- Remove unnecessary metadata such as EXIF if necessary
Frequently asked questions
Can AI learning be prevented by including NoAI notation?
It cannot be completely prevented. The NoAI notation is an aid to indicate the intention of the right holder. It is more realistic to combine publication size, watermarks, how to show samples, display of terms of use, and storage of original data.
Where should I put NoAI in the image?
If you want to show your work, it's easier to use the edges, margins, or near the author's name. If you want to make it difficult for the entire work to be used as is, you can repeat it as a thin tile watermark.
Edit an Image
Use Easy Mode for quick hiding, or Advanced Mode for detailed layers, logos, and export settings.