How to create a mosaic with Canva | How to hide faces, text, and license plates
When you want to hide a face or part of an image in Canva, first decide whether you want "blur" or "pixelization (mosaic style)". If you want to make it less noticeable, use a blurred image, and if you want to anonymize your face or license plate, use a mosaic-like process with large grains.
However, depending on the environment or editing screen in Canva, the item named "Mosaic" may not be found. In that case, you can either select the photo and open the blur function from Edit Image, or use a pixelization app such as Pixelify.
Steps to create a mosaic effect on an image using Canva
1. Open your design in Canva and place the photo you want to hide.
2. Select the photo and open Edit Image.
3. If you use the blur tool, make sure you have a brush setting that allows you to trace only the area you want to hide, rather than the entire image.
4. If you want to pixelate, add a pixelization tool such as Pixelify in the app search and apply it to the target image.
5. Enlarge the face, car license plate, background signboard, etc., and check if the processing area is covered slightly larger.
6. Before exporting as PNG or JPEG, check whether it can be read on a different screen size.
When you can't find your mosaic in Canva
In Canva's standard editing, "blur" may be found first. If you are looking for a mosaic effect and cannot find it, it is important not to force yourself to settle for a thin blur. If you just want to make the face less noticeable, you can blur it, but for information that you want to make unreadable, such as letters, numbers, and QR codes, it is better to completely cover it with overlapping shapes.
Text and addresses are better painted in black than mosaic
Address, name, phone number, order number, DM text, and QR code must be difficult to guess when the image is enlarged. In Canva, it is easy to understand how to add a rectangular shape, set the opacity to 100%, and place it slightly larger than the target area. It's easier to notice if you've forgotten to hide something if you use a dark-colored cover that allows you to see the border with the background, rather than painting it the same white as the text color.
What to check after using How to create a mosaic with Canva
The main risk is leaving a small edge of text, a number, or a code visible after editing. When using How to create a mosaic with Canva, make the edited area slightly larger than the target and open the exported file once before posting.
When using How to create a mosaic with Canva, treat visual softening and redaction as separate jobs. For How to create a mosaic with Canva, blur or mosaic can reduce detail, but sensitive text and codes are easier to check with an opaque cover.
Frequently asked questions
Is Canva mosaic processing free?
In Canva, the range of blurring and pixelation available, and the terms of use for additional apps may vary depending on the plan and screen. Before you start editing, please check whether you can complete the export for free.
What should I be careful about when saving images that have been mosaiced with Canva?
In addition to previewing the design, reopen the downloaded PNG or JPEG to check it. Characters and facial features may remain in the original size, even if they are hidden in the reduced size.
When you want to hide multiple locations at once
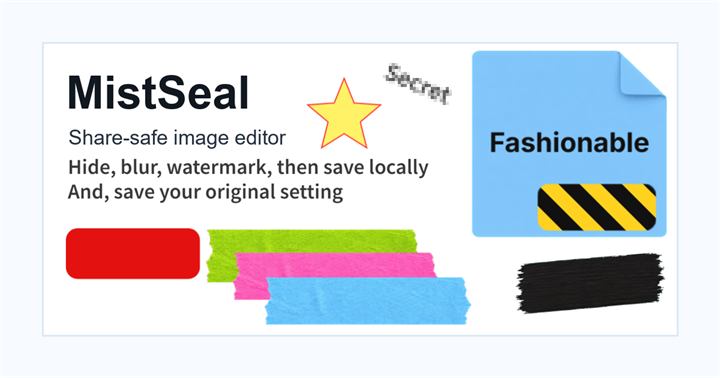
When a single photo contains a mixture of faces, text, license plates, addresses in the background, etc., the work tends to get scattered with comprehensive image editing tools. With MistSeal, you can mosaic, blur, cover, and confirm location information in one process as privacy processing before sharing on social media.
If you want to create the entire design, use the regular app, and if you want to hide information before publishing, use MistSeal, so you won't get confused.- Difference between mosaic and blur
Edit an Image
Use Easy Mode for quick hiding, or Advanced Mode for detailed layers, logos, and export settings.